
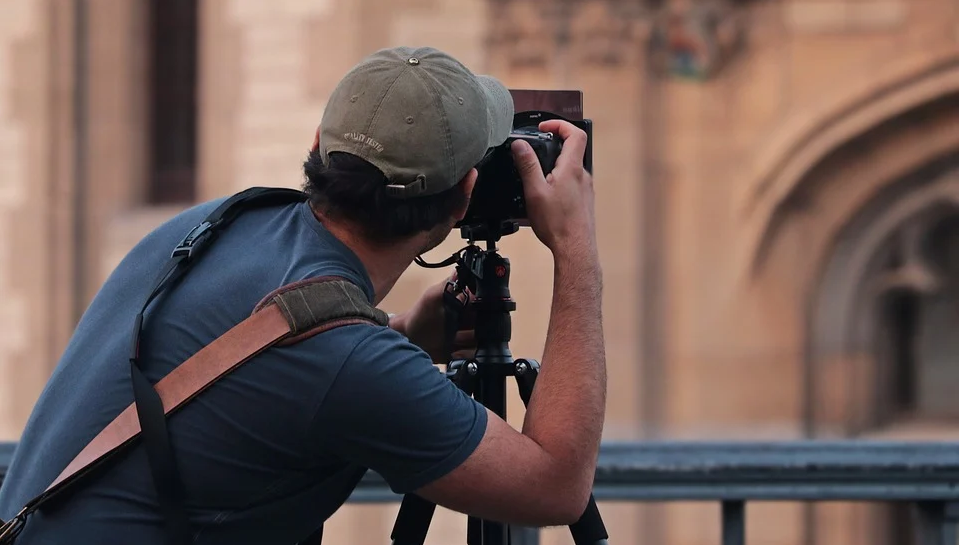
Various Special Effects and Techniques of Photography
With the various image editing programs and applications available today, it is easier than ever to add extraordinary special effects and photographic illusion tricks to your favorite images to give them a “supernatural” appeal. You will find out right here some tips to help most amateur photographers to make into professional.
Light Painting and Drawing Methods
 What you will probably have at the end will appear as if the light was painted all over the painting. The light’s design is similar to soft painting but differs because the plane is much more specific. Hold the camera about 15 feet from the subject and set the shutter speed to about half an hour. Using a flashlight or other light source, start creating your design or model.
If you draw something simple, like a simple shape, you have to pay the routine several times. If it is more complicated, go through the routine only once gradually enough to find the desired effect. You’ll need a box, some durable white paper to make a stencil, or maybe a stencil already made, and even an external flash source for light.
Flash Stencils
Make a hole in the box so you can put your stencil in it. Set the shutter speed to about 30 seconds and then continue in the interval where you want the stencil to be visible. Remember not to survive too long and not to stay in one place, as partial images may come out of your body along with the model. To capture the essence of movement while keeping a subject in focus, there are many tricks you can use.
Motion Blur Technique
Another way to get the motion blur is to make an overview of the subject, passing behind it, while everything around it must be in motion. Another way to get the motion blur is to leave the subject still while you focus on it and everything around it becomes blurred.
Double Exposure
These images are combined into a single image with double exposure. The superimposed graphics will float in the final solution. So try to adjust them so that they look even and natural, except for the subject, which should look a bit unnatural and stand out.
HDR Photo
 HDR stands for “High Dynamic Range” and means that you transport a series of images and mix or adjust them after processing. Usually, this is done by taking three images of a particular scene, all taken at different shutter speeds. Using special software, you can combine these images with improving details and highlights, such as shadows. This helps the photographer find the scene’s full effect, as it is visible to the naked eye.
Considering that our list of 7 types of photographic tricks and special effects is closing, this could be achieved with a DSLR camera and also with large-aperture settings. Set the camera to one or AV type and use an extremely low f-number (smaller aperture = larger aperture) to reduce field depth. Keeping the subject as close as possible to the lens and working surface will give you the best bokeh shooting.
Bokeh Technique
There are also great new features for point-and-shoot camera users, as image result programs and even downloadable apps for iPhone or other mobile device purchases are easily accessible to give the full bokeh effect along with additional work or special equipment.